Cameron Compression Systems produces reciprocating and centrifugal compression products, systems, and services for the oil, gas, and process industries. The company also features a line of 12- and 16-cylinder two-stroke diesel engines to power its compressors, which were brought back to the market after a 10-year hiatus, by popular demand from customers.
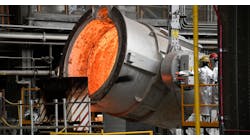
The blocks are cast offshore to specification, then finished and assembled by Cameron at its Houston plant.
In order to reproduce the successful line, Cameron Compression Systems had to find a way to recreate the designs. “We needed a way to reverse engineer the existing engines to create solid models that could serve as the basis for manufacturing,” said Greg Obets, manager of Engineering Systems. “It would have taken years to re-engineer the large diesel engine block plan and heads using a CMM. Collecting one point at a time with a CMM would have only provided a rough outline of the geometry.”
CCM engineers began to investigate laser scanning and looked at several different devices, finally selecting NVision HandHeld scanners due to their 8-in. laser stripe width, which operates four times faster than small-stripe technology.
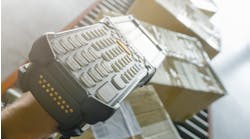
The HandHeld is a portable device capable of capturing 3D geometry from components of virtually any size. It is attached to a mechanical arm that moves about the object, freeing the user to capture data rapidly with a high degree of resolution. An optional tripod provides complete portability in the field, and the intuitive software allows real-time rendering, full model editing, polygon reduction, and data output to all standard 3D packages.
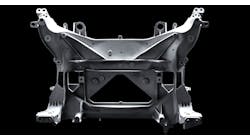
Cameron used the integrated Hand- Held software to re-assemble the point clouds in a single file for each component. Reference points included in the original scans made it easy to reassemble the different point clouds in their proper relationship. The company also used XOR software to convert the point clouds to a solid model.
“We imported the solid model into Siemens PLM NX software where we tweaked a few things, such as thinning out or beefing up surfaces,” said Obets. “In only two months, we were ready to turn the solid models and drawings over to manufacturing.”
