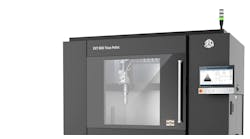
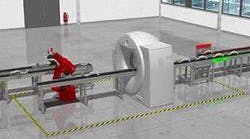
MATRIX TECHNOLOGIES is offering a spiral CT X-ray system for industrial applications, creating the possibility of using computer tomography for inline inspection. The new XCTube series is capable of scanning times in the range of seconds (
The core of the new system is a Siemens ring-tomograph with a continuously rotating, gantry X-ray tube-detector-unit. The 100-kW Straton x-ray tube setup with a multi-line UFC detector guarantees the acquisition of all projections needed for CT reconstruction within seconds. This high-speed functionality allows a complete CT inspection, including automatic analysis of an automotive chassis part, in less than 30 seconds, with a voxel resolution of 120-400 µm, according to MatriX. The spiral CT provides very good quality images, minimizing disturbing spiral artifacts.
MatriX Technologies has been working with Siemens for several months to integrate the spiral CT technology (used for medical analysis) into an industrial production environment. It plans to offer the new XCTube series as the core of automatic X-ray system installations. The focus will be on complex solutions that integrate the XCTube pass-through system and the MIPS_NDT workflow and analyzer software in customer-specific manufacturing processes. CT analysis focuses on the fully automatic evaluation of the CT volume and slice image data, as well as on efficient defect verification, including standard networking of an inline production environment via MES interface.
The main application is in detecting porosity/voids and impurities (e.g. metal chips, trapped core sand). Visualizing the volume data as well as automatic analysis is performed via the Volume Graphics CT_Analyzer Software (VG-StudioMax 2.x.) Verification of the detected defects can be executed via the verification module of the MIPS_process software.
Visit www.m-xt.com
